Skip to content


Soft paneer kulcha depends on three things: dough that is rested until relaxed, a filling that stays dry enough to remain inside, and steady heat that cooks the centre before the outside becomes too dark. Keep the paneer mixture crumbly rather than wet, roll gently after stuffing and cook each kulcha only until both sides develop golden spots.
A stuffed kulcha can go wrong even when the filling tastes good. The dough may keep shrinking while rolling, moist paneer may break through the surface, or high heat may colour the outside before the bread cooks through.
A dependable paneer kulcha recipe therefore starts before the kulcha reaches the pan. Give the dough time to rest, control moisture in the stuffing and roll with light pressure. Once these three things are right, cooking becomes much easier.
What You Need for 6 Paneer Kulchas
For the Dough
-
2 cups maida
-
¼ cup curd
-
½ teaspoon baking powder
-
¼ teaspoon baking soda
-
½ teaspoon sugar
-
½ teaspoon salt
-
1 tablespoon oil
-
Water as required
For the Paneer Filling
-
200 g paneer, crumbled
-
1 green chilli, finely chopped
-
2 tablespoons coriander
-
½ teaspoon roasted cumin powder
-
½ teaspoon garam masala
-
¼ teaspoon red chilli powder
-
Salt as required
Keep butter or ghee ready for finishing.
Step 1: Make a Soft Dough That Can Relax
Combine maida, baking powder, baking soda, sugar and salt. Add curd and oil, then begin adding water gradually.
Knead until the dough feels soft and smooth rather than stiff.
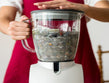
If you regularly prepare rotis, parathas and stuffed breads, food processing appliances can make the prep easier. A food processor by Wipro Appliances can help with repetitive tasks such as kneading, chopping, slicing and shredding, while you still check the finished dough by hand for softness and elasticity.
Cover and rest it for around 30 minutes. Resting allows the dough to relax, which makes it less likely to pull back while rolling.
Step 2: Keep the Paneer Filling Dry
Crumble the paneer finely and add chilli, coriander, cumin, garam masala, chilli powder and salt.
Mix gently.
The finished filling should:
• crumble easily between your fingers
• contain no visible liquid
• hold together when lightly pressed
• break apart again without becoming pasty
Avoid adding tomato, wet chutney or too much onion directly to the filling. Extra moisture can weaken the dough once you start rolling.
This moisture rule also carries over to a methi paratha recipe or other stuffed flatbreads: the filling should bring flavour without making the dough difficult to seal.
Step 3: Prepare Flavour Without Adding Extra Moisture
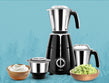
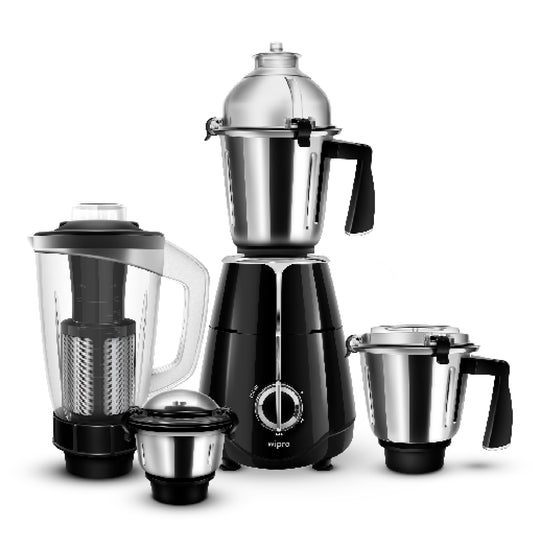
If you want green chilli, coriander or a small quantity of dry spices prepared more evenly, an Elato mixer grinder by Wipro Appliances can handle dry grinding and small chutney-style preparations through its different jars. The current FMG204 has three stainless-steel jars, including a dry-grinding jar and chutney jar.
For this recipe, keep any ground chilli-coriander mixture fairly thick. The aim is to distribute flavour through the paneer without introducing enough liquid to loosen the stuffing.
This is where Indian cooking appliances are most useful: they should shorten repetitive preparation while still leaving decisions about moisture and texture to the cook.
Step 4: Stuff Without Overfilling
Divide the rested dough and paneer mixture into six portions.
For each kulcha:
-
Flatten one dough ball into a small disc.
-
Place the paneer filling in the centre.
-
Bring the edges together and seal firmly.
-
Rest the sealed ball for two minutes.
-
Dust lightly with flour.
-
Roll gently from the centre outwards.
Do not chase an extremely thin kulcha. The filling needs enough dough around it to stay enclosed during cooking.
If the paneer begins breaking through the surface, stop rolling rather than covering the tear with large amounts of dry flour.
Step 5: Cook on Steady Heat
A good paneer kulcha needs enough heat to create golden spots but enough time for the dough around the filling to cook properly.
Heat a tawa over medium to medium-high heat.
Place the rolled kulcha on the hot surface and wait until small bubbles appear. Turn it, allow the second side to develop colour and flip again only if necessary.
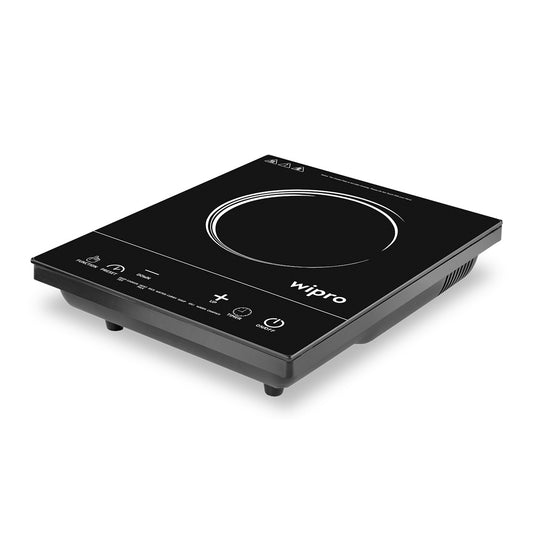
A Vesta induction cooktop by Wipro Appliances can be useful when you want to adjust the heat between batches. The current 2000W model provides seven power levels along with touch controls and a timer.
Watch the kulcha rather than relying only on a fixed setting. If dark spots appear before the bread has puffed or cooked through, lower the heat.
Step 6: Finish Without Making It Heavy
Brush the cooked kulcha lightly with butter or ghee while it is still warm.
Serve it with curd, pickle, chutney or a simple dal.
If preparing several kulchas, stack them loosely under a clean cloth. Covering them helps retain softness, but avoid sealing very hot kulchas in an airtight container because trapped steam can make the surfaces damp.
What Should the Finished Kulcha Tell You?
|
What You Notice |
What It Usually Means |
|
Dough keeps shrinking |
It needs more resting time |
|
Filling comes through |
Filling is too wet or kulcha is rolled too thin |
|
Outside browns too quickly |
Heat is too high |
|
Kulcha feels dense |
Dough may be too stiff |
|
Filling feels uneven |
Paneer was not crumbled finely enough |
These cues are often more useful than simply extending the cooking time.
Soft Kulcha Starts Before the Tawa
Learning how to make paneer kulcha at home is less about using more butter and more about managing dough, filling and heat.
Rest the dough until it rolls easily, keep the paneer dry enough to stay enclosed and cook over controlled heat. Once those stages are handled properly, homemade kulcha can remain soft while still carrying a generous paneer filling.
FAQs
-
Can paneer kulcha dough be prepared in advance?
Yes. Refrigerate the covered dough and bring it closer to room temperature before rolling.
-
Why does paneer come out while rolling a kulcha?
The filling may be too wet, the kulcha may be overfilled, or too much pressure may be used while rolling.
-
Can atta be used instead of maida while making a kulcha?
Yes, although the finished kulcha may have a firmer texture. A combination of atta and maida can also be used.
-
Should paneer kulcha be cooked on high heat?
Use medium to medium-high heat. Excessive heat can brown the surface before the centre cooks properly.
-
Can leftover paneer kulcha be reheated?
Yes. Warm it briefly on a tawa rather than cooking it again for a long time.