Skip to content


The secret to soft, crumbly nankhatai lies in creaming the ghee properly, handling the dough gently and baking at a moderate temperature in overn toast griller. Follow this easy recipe for consistently delicious results.
Nankhatai looks like a simple biscuit, but the difference between a beautifully crumbly batch and a hard, dry one often comes down to a few small decisions. I learnt this after baking several batches; some spread too much, some cracked excessively and one tray became firmer than expected.
The good news is that making nankhatai at home does not require advanced baking skills. Once you understand how the dough should feel and when to remove the biscuits from the oven, the recipe becomes surprisingly dependable.
Ingredients for Homemade Nankhatai
This nankhatai biscuit recipe makes approximately 14–16 biscuits.
-
1 cup refined flour or maida
-
¼ cup gram flour or besan
-
2 tablespoons semolina or sooji
-
½ cup powdered sugar
-
½ cup semi-solid ghee
-
½ teaspoon cardamom powder
-
¼ teaspoon baking soda
-
A small pinch of salt
-
Chopped pistachios or almonds for garnish
The besan adds a slightly nutty taste, while sooji gives the biscuits their delicate texture. Avoid adding too much semolina, as it can make the nankhatai noticeably grainy.
How to Make Naan Khatai Step by Step
Before you begin, keep all the ingredients measured and ready, as the dough comes together quite quickly. Follow these simple steps carefully to get nankhatai that is soft, crumbly and evenly baked.
Cream the Ghee and Sugar
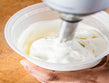
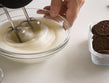
Place the semi-solid ghee and powdered sugar in a mixing bowl. Whisk them together for three to four minutes until the mixture becomes pale, smooth and slightly fluffy.
This is one step I never rush. Proper creaming distributes the fat evenly and helps create the light texture associated with traditional nankhatai recipes. Melted ghee should be avoided because it can make the dough greasy and cause the biscuits to spread.
Prepare the Dry Mixture
In another bowl, combine:
-
Maida
-
Besan
-
Sooji
-
Baking soda
-
Salt
-
Cardamom powder
Mix everything thoroughly before adding it to the creamed ghee. This ensures that the baking soda does not remain concentrated in one area.
Form a Soft Dough
Add the dry ingredients gradually to the ghee mixture. Bring everything together gently using your fingers or a spatula.
The dough should hold its shape when pressed but should not feel sticky. Do not knead it like roti dough. Overworking develops gluten, which can make the biscuits firm instead of crumbly.
When learning how to make naan khatai, this is the texture cue worth remembering: the dough may look slightly loose in the bowl, but it should come together easily when pressed in your palm. If it feels too dry, add one teaspoon of ghee. If it feels overly greasy, mix in a teaspoon of maida.
Shape and Rest the Biscuits
Divide the dough into equal portions and roll each one gently into a smooth ball. Flatten it slightly and make a shallow cross or indentation on top.
Arrange the biscuits on a lined baking tray, leaving some space between them. Add chopped pistachios or almonds and press them lightly so they remain in place.
Rest the shaped biscuits for around 10 minutes while the oven preheats. This short rest helps the dough settle and reduces uneven spreading.
Baking Nankhatai in an OTG
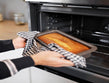
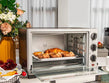
Preheat your oven toaster griller at 160°C for approximately 10 minutes. Place the tray on the middle rack and bake the biscuits for 15–18 minutes.
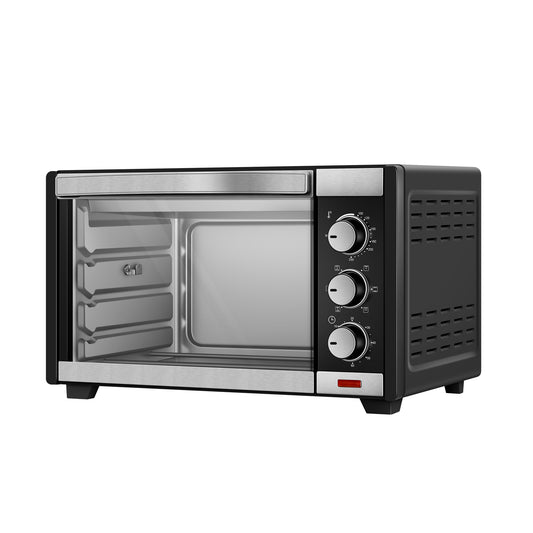
A dependable OTG is one of the most useful kitchen appliances for recipes requiring controlled, even heat. For example, the 28 L Oven Toast Grill offers adjustable heating modes that can support everyday baking requirements. The exact baking time may vary depending on biscuit size and oven performance. Similar to the temperature control discussed when learning how to bake a cake in an OTG, preheating is essential for even results.
Remove the tray when:
-
The tops appear dry and lightly cracked
-
The edges begin to turn pale golden
-
The centres still feel slightly soft
Do not wait for the biscuits to become completely firm inside the oven. They continue to set as they cool.
Common Mistakes That Affect Nankhatai
-
Biscuits may spread excessively if the ghee is melted or the dough is too soft; to prevent this, use semi-solid ghee and chill the dough briefly before baking.
-
Nankhatai can become hard when the dough is kneaded too much or overbaked, so it is important to mix gently and remove the biscuits while the centre is still soft.
-
If the biscuits remain raw inside, it is usually because the pieces are too large; shaping smaller, evenly sized portions helps them bake evenly.
-
The bottoms may darken quickly if the tray is placed too low in the oven, so always bake on the middle rack for balanced heat distribution.
-
If the dough does not bind properly, it may be because the flour has absorbed more moisture; in such cases, add ghee one teaspoon at a time until the dough comes together.
-
Using the correct baking tray also matters. Oven-safe metal trays are generally suitable, which makes a guide on what utensils can be used in an OTG a useful reference before experimenting with more baked recipes.
Cooling and Storing Nankhatai
Allow the biscuits to remain on the hot tray for five minutes before transferring them to a wire rack. Freshly baked nankhatai is fragile and may break when moved immediately.
Let the biscuits cool completely before placing them in an airtight container. Stored away from moisture, they usually remain crisp and enjoyable for around one to two weeks.
A Simple Recipe Worth Repeating
A successful nankhatai biscuit recipe does not depend on complicated ingredients. It depends on getting the basics right: semi-solid ghee, gently mixed dough, moderate heat and timely removal from the oven.
Once you recognise the correct dough texture and lightly golden edges, preparing nankhatai at home becomes far easier. Serve the biscuits with tea, pack them into a festive gift box or keep a small batch ready for an uncomplicated homemade treat.