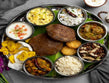

Diwali in Maharashtra is incomplete without the fragrance of roasted spices and crispy poha wafting from the kitchen, a true sign that poha chivda is being prepared. This iconic snack, also called poha namkeen, is not only a festive favourite but also an all-time pantry essential in Indian households.
If you’ve ever wondered how to make chivda that’s crispy, light, and bursting with flavour, you’re in the right place. This chivda recipe walks you through the traditional Maharashtrian method with an easy, modern twist that keeps the flavours authentic while reducing the cooking time using smart kitchen appliances.
Poha Chivda – A Healthy Snack

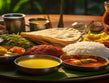
Poha chivda is a dry, savoury snack made with flattened rice (poha), spices, nuts, and optional ingredients like dry fruits and sev. Unlike deep-fried mixtures, poha namkeen is often roasted, making it a lighter alternative. This makes it perfect for tea-time munching, road trips, or as a side with festive sweets like laddoos and karanjis during Diwali.
What’s great is that this snack can be made in bulk, stored in air-tight containers, and enjoyed for weeks. Here’s everything you need to make the perfect Diwali chivda:
Quick Recipe Overview:
-
Prep Time: 20 minutes
-
Cuisine: Maharashtrian / Indian
-
Couse: Snack
-
Serves: 6–8
Ingredients for Poha Chivda:
To prepare this light and crunchy delight, gather the following simple yet flavourful ingredients.
Core Ingredients:
-
2 cups thin poha (flattened rice)
-
1/4 cup peanuts
-
2 tbsp cashew nuts
-
2 tbsp dry coconut slices
-
1 tbsp golden raisins (optional)
-
10–12 curry leaves
-
1–2 green chilies (chopped)
-
1/2 tsp mustard seeds
-
1/4 tsp cumin seeds
-
1/2 tsp turmeric powder
-
1/2 tsp sugar
-
Salt to taste
-
2 tbsp oil
Optional Add-ins:
-
Roasted chana dal
-
Fennel seeds
-
Puffed rice (murmura)
-
Sev or boondi for added crunch
How to Make Chivda – Step-by-Step Guide:
Step 1: Roast the Poha
The foundation of any good poha chivda recipe lies in perfectly roasting the poha. Thin poha works best here as it crisps up quickly and blends beautifully with the masalas.
-
Heat a wide non-stick pan or use an induction cooktop at a low heat setting.
-
Add poha in batches and dry roast for 5–7 minutes.
-
Keep stirring gently until the flakes become crisp but don’t let them brown.
-
Set aside in a large mixing bowl.
Pro Tip: Stirring consistently on a Wipro Induction Cooktop ensures even heat without burning the delicate poha flakes.
Step 2: Prepare the Tempering
-
In the same pan, heat 2 tablespoons of oil.
-
Add mustard seeds and let them splutter.
-
Toss in cumin seeds, green chilies, and curry leaves.
-
Add peanuts and roast till golden.
-
Add cashews, followed by coconut slices, and sauté until lightly browned.
-
Mix in turmeric powder, salt, and sugar.
This tempering is where the flavour magic happens, so don’t rush this step.
Step 3: Combine and Toss
-
Add the roasted poha back into the pan or mix everything in a large bowl.
-
Gently mix so the poha is evenly coated with the tempering.
-
Switch off the heat and let it cool completely.
-
Transfer to an air-tight jar for storage.
Your crispy, flavourful chivda is now ready!
Why This Poha Chivda is a Festive Favourite?
Every festival has its signature snack, and when it comes to Diwali, nothing beats the timeless charm of poha chivda.
-
Light and Crunchy: Unlike fried mixtures, poha chivda is air-roasted, making it easier to digest and less oily.
-
Highly Customizable: You can tweak this chivda recipe based on your taste. Add more nuts, reduce spices, or make a Jain version without onion or garlic.
-
Ideal for Gifting: Pack it in small decorative jars or pouches, it makes for a thoughtful and homemade festive gift.
-
Shelf-Stable: Lasts up to 3–4 weeks when stored in a cool, dry place, perfect for bulk prepping before the Diwali rush.
Flavour Variations to Try:
-
South Indian-style Chivda: Add curry powder, dried red chilies, and roasted urad/chana dal.
-
Sweet & Spicy: Mix in jaggery syrup with red chili flakes for a bold twist.
-
Nut-Free Version: Replace nuts with roasted seeds (like sunflower or pumpkin) for a kid-friendly snack.
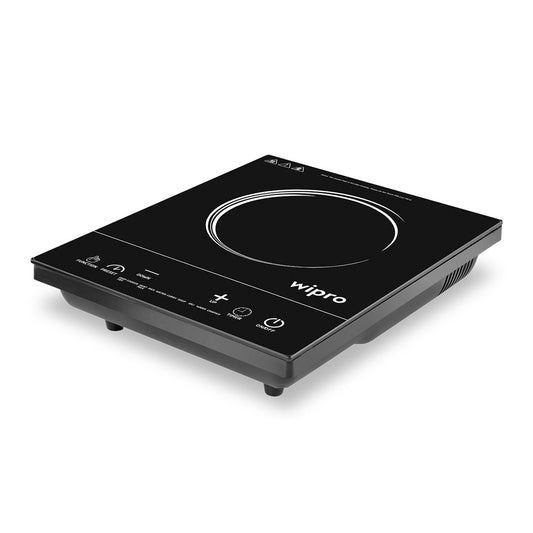
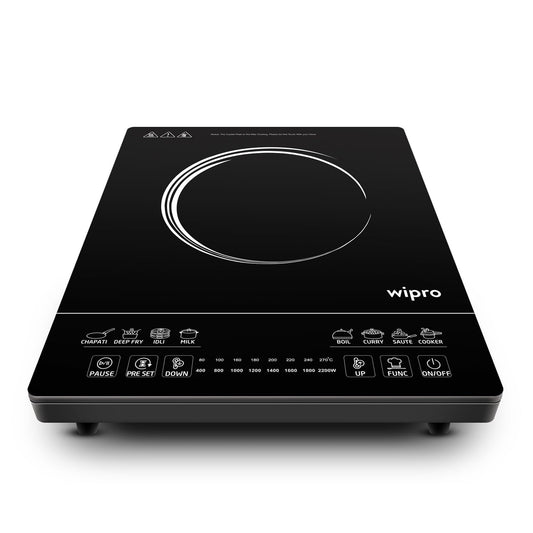
Kitchen Made Smarter with Wipro Induction Cooktop:
Preparing this poha namkeen recipe becomes even more effortless when you switch to a modern appliance like the Wipro Induction Cooktop. Here’s why it’s a game-changer for traditional recipes like Diwali chivda:
-
Smart Sensor Touch Control: Navigate heat levels easily and precisely. It lets you fine-tune the temperature needed for roasting poha or sautéing nuts without burning anything.
-
Ten Pre-Programmed Indian Menu Functions: From boiling milk to frying spices, this cooktop understands Indian cooking. These presets save time and guesswork, just select the function and cook away.
-
Hands-Free Cooking with Timer Function: Set the timer, walk away, and multitask. Perfect for festive prep when you’re juggling sweets, snacks, and decorations.
-
Crystal Glass Plate: Sleek, stylish, and functional. This surface is easy to clean and brings a premium feel to your kitchen setup.
-
2000-Watt High Power: Cook 4x faster compared to traditional stoves. Saves energy and time, especially when making large batches of snacks like chivda.
Nothing spells nostalgia and festivity like a jar full of poha chivda, crisp, savoury, and full of bold Indian flavours. This chivda recipe is perfect for Diwali, casual get-togethers, or simply when you want a homemade snack that’s healthy and flavourful. And with smart appliances like the Wipro Induction Cooktop, making traditional snacks has never been easier. From its smart sensor touch control to hands-free timer functions, it simplifies cooking while keeping it efficient and stylish.
So, this festive season, bring together the best of tradition and technology. Make your batch of Diwali chivda, and let the crunch and aroma fill your home with warmth, just like old times.
FAQ
-
How to make chivda crispy?
Roast the poha on low heat while stirring continuously until light and crunchy. Avoid high flame as it can burn the flakes.
-
Can I store poha chivda for long?
Yes, once cooled, store it in an airtight container. If you prepare it on the Wipro Induction Cooktop, the even heat ensures the chivda stays crisp for weeks. It remains fresh for 3–4 weeks in a cool, dry place.
-
Is poha chivda healthy?
Compared to fried namkeen, poha chivda uses less oil and can be customized with nuts and seeds, making it a lighter and healthier snack.
-
Which type of poha is best for chivda recipe?
Thin poha works best for a crispy texture, while thick poha makes a slightly heavier version of the snack.