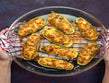

Soft, flavourful, and packed with nutrients, methi paratha is one of those everyday Indian dishes that feel wholesome without being heavy. If you’ve ever wondered how to make methi paratha that isn’t bitter, dry, or time-consuming, this guide simplifies the process. With the right method and a few smart kitchen appliances, this methi paratha recipe becomes easy enough for busy mornings and satisfying enough for any meal.
Why Is Methi Paratha a Smart Everyday Meal
Methi (fenugreek leaves) is rich in iron, fibre, and antioxidants, making it excellent for digestion and blood sugar regulation. When combined with whole wheat flour, methi paratha is a balanced meal that keeps you full for longer.
Why do people love it:
-
Works for breakfast, lunch, or dinner
-
Naturally flavourful without heavy spices
-
Easy to pair with curd, butter, or pickle
Ingredients You Need for Methi Paratha
This methi ka paratha recipe uses simple pantry staples. Most of these ingredients are already available in Indian kitchens, and when combined in the right proportions, they come together to create soft, flavourful parathas without any complicated prep or special additions.
Ingredients:
-
Fresh methi leaves – 1 cup (finely chopped)
-
Whole wheat flour – 2 cups
-
Green chilli – optional, finely chopped
-
Ginger – 1 tsp, grated
-
Cumin seeds – ½ tsp
-
Turmeric – a pinch
-
Salt – to taste
-
Oil – 1 tbsp (for dough)
-
Water – as required
Preparing Fresh Methi the Right Way
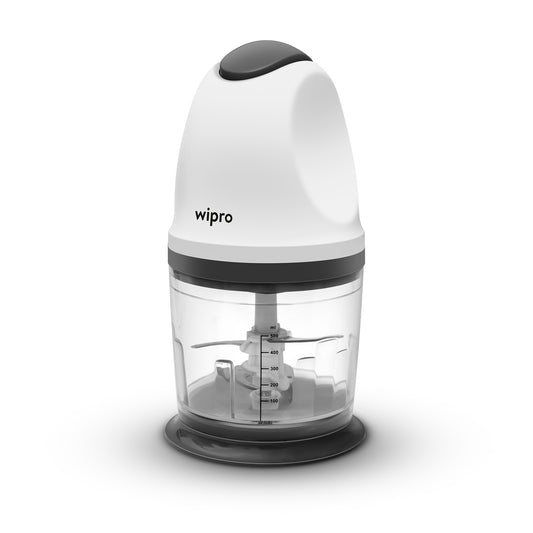
Wash methi thoroughly, drain well, and chop finely. Excess moisture can make the dough sticky and affect the texture. An electric chopper like the Wipro Elato Chopper ensures uniform chopping in seconds and reduces the bitterness that comes from uneven cuts.
How to Make Methi Paratha at Home (Step-by-Step)
Step 1: Chop and Prep the Methi
Wash the methi thoroughly and remove thick stems. Chop the leaves finely and lightly squeeze out any excess water to prevent the dough from becoming sticky. An electric chopper makes this quicker and more uniform.
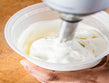
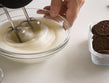
Step 2: Make the Dough
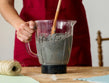
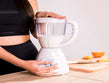
Mix wheat flour, the chopped methi, spices, salt, and oil in a bowl. Add water gradually and knead into a soft dough. Using a mixer or food processor helps with even kneading. Let it rest for 10-15 minutes for a better texture.
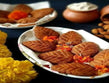
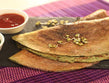
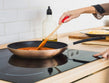
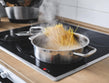
Step 3: Roll and Cook the Paratha
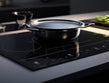
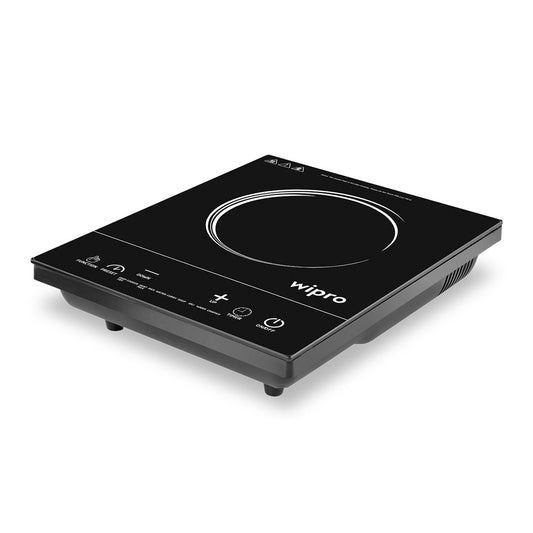
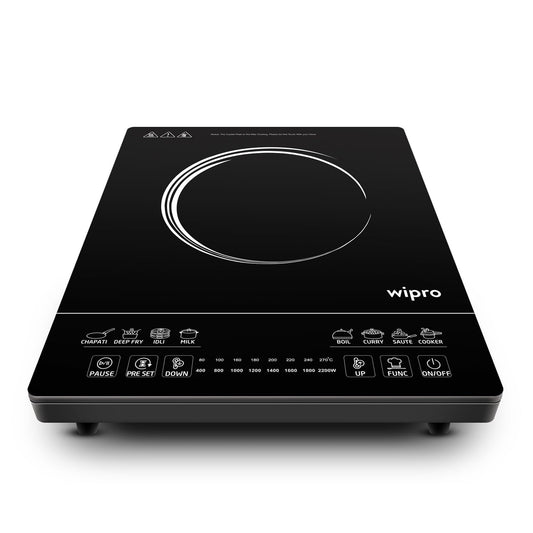
Divide the dough into portions, roll them evenly, and cook on a preheated tawa over medium heat, flipping once bubbles appear and lightly oiling both sides. Induction cooktops help maintain steady heat for evenly cooked parathas.
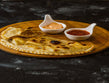
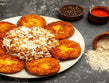
Step 4: Serve Hot
Serve the methi paratha hot with fresh curd, white butter, or homemade pickle. You can even pack it for lunchboxes. When cooked evenly, it stays soft for hours and travels well without turning dry.
What Mistakes Should You Avoid
Many first-timers struggle with texture or taste. Avoid these pitfalls:
-
Using wet methi → leads to sticky dough
-
Cooking on a high flame → burns paratha before cooking inside
-
Skipping the dough resting → results in hard parathas
Appliances with controlled heat and consistent mixing help avoid most of these issues.
Easy Methi Paratha Variations to Try
Once you’ve mastered the base methi paratha recipe, experimenting with flavours becomes easy and enjoyable rather than time-consuming. Small ingredient additions or flour swaps can create entirely new variations, and using choppers and mixers makes the process quicker, cleaner, and far less tiring, especially for everyday cooking.
-
Methi Garlic Paratha: To make this variation, simply add finely minced garlic to the dough along with chopped methi and spices. Garlic blends best when it’s evenly chopped, so mixing it directly into the dough ensures balanced flavour without overpowering the paratha. The rest of the cooking process remains exactly the same.
-
Methi Multigrain Paratha: Replace a portion of the wheat flour with multigrain or millet flour while following the same dough-making steps. Since multigrain flours absorb more water, add water gradually to maintain a soft dough. Cooking on medium, controlled heat helps the paratha cook evenly without drying out.
-
Methi Paneer Paratha: Add freshly grated paneer to the dough along with methi and spices, adjusting salt slightly to balance the richness. Paneer adds moisture, so you may need less water while kneading. Roll gently to avoid tearing, and cook as usual for a soft, protein-rich paratha.
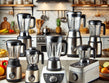
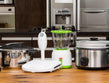
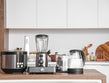
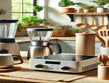
Wipro Appliances That Make Methi Paratha Easier
You don’t need a professional kitchen, just the right tools. Thoughtfully designed to make your kitchen easier, Wipro kitchen appliances simplify everyday tasks like chopping, kneading, and cooking, helping you prepare methi parathas faster, more consistently, and with far less effort.
-
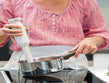
Electric Chopper: Chopping methi finely and evenly is key to avoiding bitterness, and an electric chopper does this in seconds while keeping texture consistent and prep mess-free.
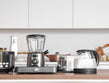
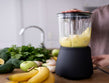
-
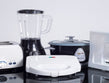
Mixer / Food Processor: Kneading methi paratha dough by hand can be tiring and uneven; a mixer or processor ensures uniform mixing and soft dough every time with minimal effort.
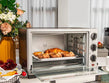
-
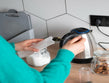
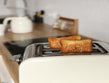
Induction Cooktop: Methi parathas need steady, medium heat to cook through without burning, and induction cooktops offer precise temperature control for perfectly cooked parathas.
-
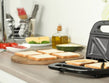
Non-stick Tawa: A good non-stick tawa allows even cooking with less oil, makes flipping easier, and helps retain softness so the paratha doesn't stick or tear.
Why Homemade Methi Paratha Is Worth the Effort
When you know how to make methi paratha the right way, it stops being a weekend-only dish. With smart prep, efficient appliances, and simple ingredients, this methi paratha recipe slips seamlessly into daily cooking, delivering wholesome nutrition, great taste, and consistent results every single time.
FAQs
-
Can I knead methi paratha dough in a mixer?
Yes, a mixer or food processor ensures even kneading and saves effort, especially when making multiple parathas at once.
-
Is induction suitable for cooking methi paratha?
Absolutely. Induction cooktops provide consistent heat, preventing uneven cooking or burning common with high flames.
-
How do I chop methi quickly without bitterness?
Using an electric chopper gives uniform cuts, which helps distribute flavour evenly and avoids bitter patches.
-
Can methi paratha dough be stored?
Yes, you can refrigerate the dough for up to 24 hours in an airtight container; bring it to room temperature before rolling.
-
Which appliance helps most for daily paratha making?
A combination of an electric chopper and induction cooktop reduces prep time and improves cooking consistency for daily meals.