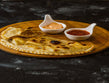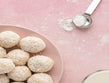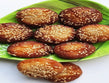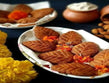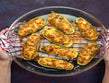

Crispy on the outside, soft on the inside, this classic South Indian favourite makes for a comforting and satisfying breakfast at home.
Medu Vada: The Perfect Blend of Taste and Tradition
Medu vada is more than just a breakfast dish; it is a staple across South Indian households, loved for its texture, flavour, and simplicity. Made using urad dal (split black gram), this dish offers a balanced combination of protein and taste, making it both nourishing and indulgent.
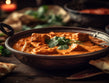
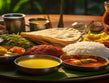
Whether paired with coconut chutney or piping hot sambar, the medu vada recipe continues to be a go-to option for family breakfasts, festive mornings, and even evening snacks.
What Makes a Perfect Medu Vada?
Getting the perfect medu vada comes down to texture and technique. Here is what defines a great batch:
-
Crisp golden outer layer without excessive oil absorption
-
Soft, fluffy interior with tiny air pockets
-
Mildly spiced batter that enhances flavour without overpowering
-
Proper fermentation or aeration for lightness
Understanding these basics is essential when learning how to make medu vada at home.
Quick Medu Vada Recipe Overview:
-
Prep Time: 4–5 hours (including soaking)
-
Cook Time: 20–25 minutes
-
Cuisine: South Indian
-
Course: Breakfast / Snack
-
Serves: 4–5 people
Ingredients for Medu Vada Recipe
To prepare this traditional recipe of medu vada, you will need simple kitchen staples:
-
1 cup urad dal (split black gram, skinless)
-
2–3 green chillies (finely chopped)
-
1 teaspoon ginger (finely chopped)
-
8–10 curry leaves (chopped)
-
1 small onion (optional, finely chopped)
-
Salt to taste
-
1–2 tablespoons water (as needed)
-
Oil for deep frying
These ingredients form the base of an authentic recipe of medu vada that delivers both flavour and texture.
Steps to Prepare Medu Vada Batter
The batter is the heart of any medu vada recipe. Achieving the right consistency ensures your vadas turn out light and fluffy.
Steps to Prepare to make Medu Vada Batter:
-
Soak urad dal in water for 4–5 hours.
-
Drain completely to avoid excess moisture.
-
Grind the dal into a smooth, thick batter using a mixer grinder, using minimal water.
-
Add salt, chopped chillies, ginger, curry leaves, and onions.
-
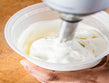
Whisk the batter for a few minutes to incorporate air.
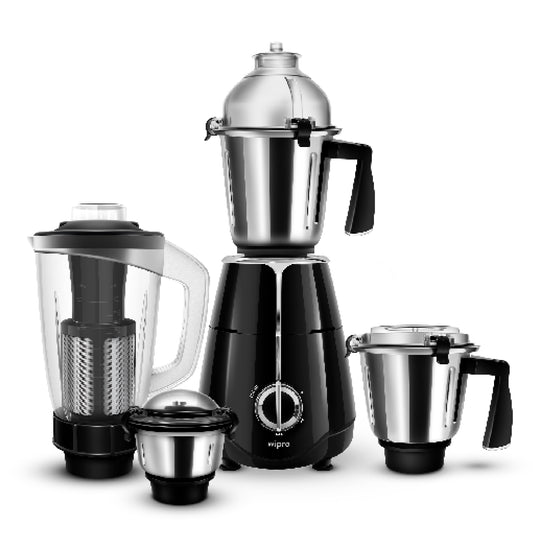
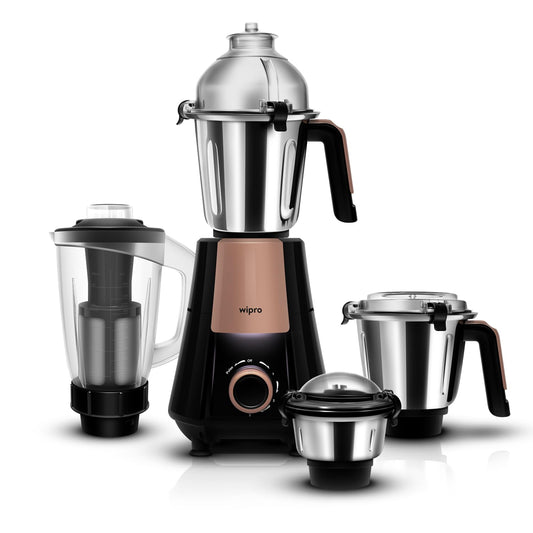
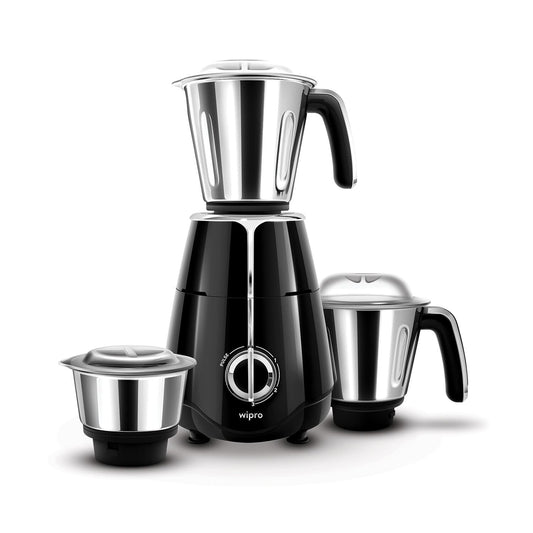
Using modern kitchen appliances like the Elato Mixer Grinder 800W makes this process faster and more efficient. Its powerful 800W pure copper motor ensures smooth grinding, while Deep Flow Breaker technology helps achieve the ideal batter consistency in less time.
If you want to master batter preparation for multiple South Indian dishes, learning how to make idli dosa batter using a mixer grinder can be extremely helpful
How to Make Medu Vada (Step-by-Step Method)?
Once your batter is ready, shaping and frying are the next crucial steps.
Step 1: Heat the Oil
-
Heat oil in a deep pan on medium flame.
-
Ensure the oil is hot but not smoking.
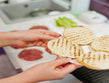
Step 2: Shape the Vada
-
Wet your hands slightly.
-
Take a small portion of batter.
-
Shape into a round doughnut with a hole in the centre.
Step 3: Fry to Perfection
-
Gently slide the shaped batter into hot oil.
-
Fry on medium heat until golden brown.
-
Turn occasionally for even cooking.
Step 4: Drain Excess Oil
-
Remove and place on kitchen paper to absorb excess oil.
This method ensures your medu vada recipe turns out crispy and evenly cooked every time.
Tips for Crispy and Fluffy Medu Vada:
If you are learning how to make medu vada, these tips will help improve your results:
-
Always grind batter thick; watery batter leads to flat vadas.
-
Whisking the batter adds air and improves fluffiness.
-
Maintain medium oil temperature to avoid undercooking or burning.
-
Avoid overcrowding the pan while frying.
-
Test oil readiness with a small drop of batter; it should rise immediately.
Healthier Cooking Alternative Using Kitchen Appliances
While traditional deep frying gives the best texture, modern kitchen appliances offer healthier alternatives.
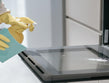
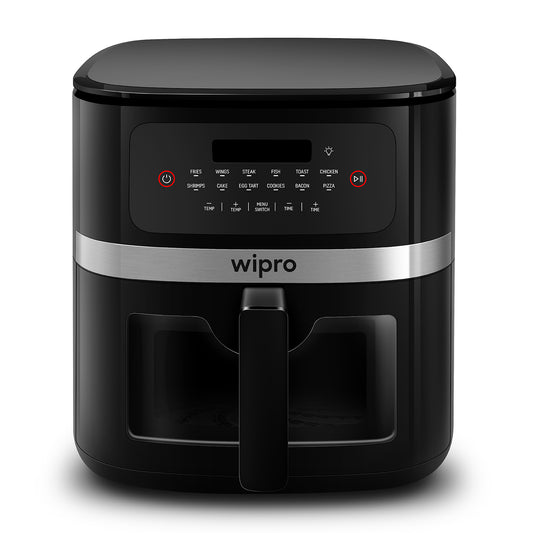
You can prepare a low-oil version using the Wipro Elato Digital Air Fryer 7.5L. With its rapid air circulation technology and 1800W powerful heating, it cooks vadas evenly with significantly less oil.
How to Use an Air Fryer for Medu Vada?
-
Preheat the air fryer.
-
Lightly grease the basket.
-
Place shaped vadas evenly.
-
Cook at 180°C for 12–15 minutes.
-
Flip halfway for even crispiness.
This method is ideal for those who prefer lighter meals without compromising on taste.
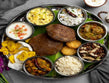
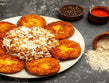
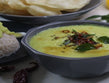
Serving Suggestions for a Complete Breakfast:
Medu vada pairs beautifully with traditional accompaniments:
-
Coconut chutney for a refreshing flavour.
-
Sambar for a wholesome and filling meal.
-
Tomato chutney for a tangy twist.
For a complete South Indian breakfast experience, serve medu vada alongside idlis and filter coffee.
For a healthier breakfast variation, you can also try a ragi dosa recipe, which adds more fibre and nutritional value to your meal.
Common Mistakes to Avoid while making medu vada:
-
Adding too much water while grinding.
-
Not aerating the batter properly.
-
Frying at very high or very low temperatures.
-
Skipping seasoning, which affects the overall flavour.
Avoiding these mistakes ensures consistent results every time.
Why Does This Medu Vada Recipe Work for Everyday Cooking?
This traditional recipe of medu vada stands out because it is:
-
Made with easily available ingredients.
-
Suitable for both beginners and experienced cooks.
-
Adaptable for deep frying or air frying.
-
Perfect for breakfast, snacks, or special occasions.
It brings together convenience, flavour, and nutrition in one dish.
Modern kitchen appliances simplify traditional cooking without compromising authenticity. The Elato Mixer Grinder 800W is designed for efficient grinding with its heavy-duty motor and stainless-steel jars, ensuring smooth batter preparation. Its ergonomic design and overload protection make it reliable for everyday use.
For healthier cooking, the Wipro Elato Digital Air Fryer 7.5L offers large capacity, multiple preset modes, and even cooking with minimal oil. Its digital touch panel and transparent viewing window add convenience and control to your cooking experience.
Used thoughtfully, such kitchen appliances make preparing traditional recipes like medu vada quicker, easier, and more consistent.
The medu vada recipe is a beautiful example of how simple ingredients can create something truly satisfying. With the right technique and a few helpful tips, mastering how to make medu vada at home becomes simple. Whether you prefer the classic deep-fried version or a lighter air-fried alternative, this dish fits perfectly into everyday breakfasts and special occasions alike.
FAQs
-
Why is my medu vada not crispy?
This usually happens due to watery batter or low oil temperature. Ensure the batter is thick and fry on medium heat.
-
Can I make medu vada without deep frying?
Yes, you can use an air fryer to make a healthier version with less oil while still maintaining crispiness.
-
How do I know if the batter is ready?
The batter should be thick, smooth, and fluffy. A small portion dropped in water should float, indicating proper aeration.
-
Is medu vada healthy for breakfast?
Medu vada provides protein from urad dal, but deep frying adds calories. Opting for air frying makes it a healthier choice.
-
Can I prepare medu vada batter in advance?
Yes, you can refrigerate the batter for a few hours, but it is best used fresh for optimal texture and taste.