Skip to content


My grilled sandwich stopped turning soggy when I stopped loading wet fillings directly on the bread and started using a simple cheese-first layering method using wipro griller sandwich maker.
For the longest time, I thought a good sandwich was only about good bread, enough cheese, and a hot pan. So, every time I made a grilled cheese sandwich, I focused on the obvious things. More butter. More cheese. More time on the pan.
But the result was almost always the same. The outside looked decent, sometimes even golden. But the first bite gave it away. The bread had gone soft from the inside, the cheese had melted unevenly, and the filling felt heavy instead of crisp and comforting.
That is when I realised the issue was not the sandwich maker, the bread, or the recipe. It was the way I was layering the sandwich.
The One Thing That Changed Everything
The small change was this: I stopped placing wet ingredients directly on the bread.
Earlier, I would spread chutney, add tomato slices, onions, capsicum, cheese, and then close the sandwich. It looked perfect before grilling, but while heating, the tomato and chutney released moisture straight into the bread.
Now, I use cheese as a barrier. Here is what works better:
-
Butter or lightly toast the outer side of the bread.
-
Place cheese directly on the inner side of the bread.
-
Add vegetables or fillings in the middle.
-
Add another light layer of cheese before closing.
-
Grill until the bread turns crisp and the cheese seals the filling.
This one change made my easy grilled cheese recipe taste more balanced. The bread stayed crisp, the filling stayed warm, and the cheese actually did its job instead of becoming a messy layer.
What I Was Doing Wrong Earlier
Once I paid attention, the mistakes were very obvious.
-
Using very juicy tomatoes caused the bread to become wet from the inside.
-
Adding too much chutney made the sandwich lose its crunch.
-
Overfilling the sandwich led to the lid pressing out moisture.
-
Grilling on low heat for too long resulted in the bread drying on the outside while becoming soft inside.
-
Cutting the sandwich immediately after grilling allowed steam to make the centre soggy.
A cheese grill sandwich recipe is not about stuffing everything into two slices of bread. It is about controlling moisture.
My Tested Method for a Better Grilled Cheese Sandwich
This is the method I now follow when I want a quick, crisp sandwich at home.
Ingredients
-
2 slices of bread
-
1–2 cheese slices or grated cheese
-
Butter for the outer side
-
Thin onion slices
-
Thin capsicum slices
-
Optional: very thin tomato slices, patted dry
-
Black pepper or mixed herbs
-
Green chutney, only if used lightly
Method
-
Apply butter on the outer sides of the bread.
-
Keep the inner side dry or use only a very thin layer of chutney.
-
Add cheese first.
-
Add the vegetables in a thin, even layer.
-
Add a second light cheese layer.
-
Close the sandwich and grill until crisp.
-
Let it rest for one minute before cutting.
That one-minute rest is underrated. It allows the cheese to settle slightly, so the filling does not slide out the moment you cut into it.
Pan vs Sandwich Maker: What Worked Better for Me?
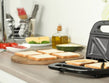
I tried both. A pan gives more control, especially if you are learning how to make a grilled cheese sandwich at home. But on busy mornings, a sandwich maker is more convenient because it gives even pressure and consistent heating.
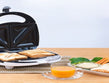
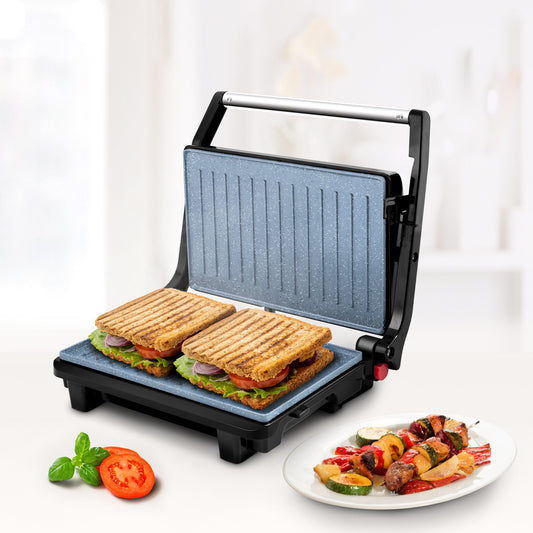
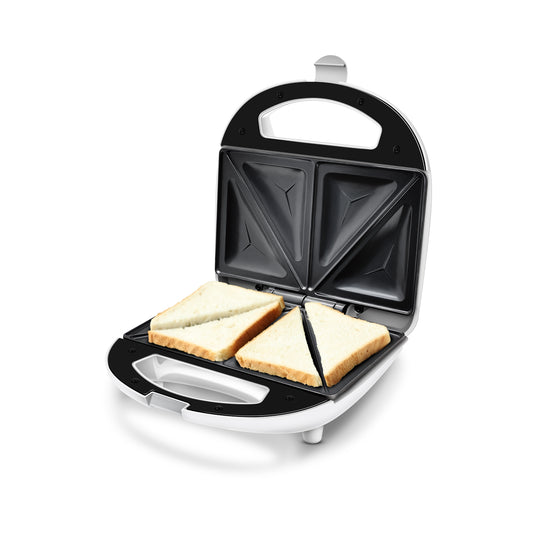
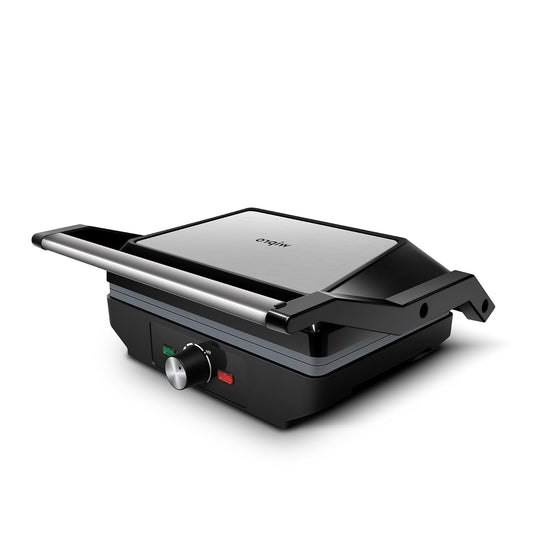
For a simple breakfast routine, the 700 Watts Sandwich Maker works well for regular two-slice sandwiches. For larger sandwiches or family snacks, the 4-slice sandwich maker is a more practical option because you can make multiple sandwiches at once. If you prefer grill marks and thicker sandwiches, the 1000 Watt Grill Sandwich Maker fits better into the sandwich maker category.
This is where good kitchen appliances actually help. They do not fix a bad filling, but they make the cooking more consistent once the sandwich is built properly.
Filling Rules That Help Avoid Sogginess
After a lot of trial and error, these small rules helped me the most:
-
Use firm bread instead of very soft bread.
-
Pat tomatoes dry before adding them.
-
Avoid watery chutneys or sauces.
-
Keep vegetables thinly sliced.
-
Do not add too much cheese, or it can leak out.
-
Preheat the sandwich maker before placing the sandwich.
-
Do not press the lid too hard if the sandwich is overfilled.
For Indian-style sandwiches, coriander chutney, tomatoes, onions, and cheese are common. But all of them need balance. A little chutney adds flavour. Too much chutney turns the sandwich limp.
My Go-To Version Now
My current favourite is simple: bread, cheese, onion, capsicum, black pepper, and a tiny amount of chutney. No thick tomato slices. No overloaded filling. No extra sauce after grilling.
It tastes like a proper grilled cheese sandwich but still has that familiar Indian snack flavour. It is crisp outside, soft and cheesy inside, and not watery in the middle.
What I Learnt After Fixing It
A soggy sandwich is usually not a cooking failure. It is a moisture problem.
Once I understood that, every sandwich became easier to fix. Wet ingredients need protection. Cheese is not just for taste; it also helps create a barrier. Bread needs heat, but it also needs space. And the sandwich maker works best when the filling is not fighting to escape from all sides.
A Crisp Sandwich Is Mostly About Control
I used to think a good sandwich needed more cheese or more butter. Now I know it needs better layering.
That one small change made my homemade sandwiches crisp, neat, and much more satisfying. Whether you use a pan or a Wipro Appliances grill sandwich maker, the rule stays the same: keep moisture away from the bread, let cheese hold the filling together, and do not overstuff it. Once I changed that, my sandwich finally stopped being soggy.