With Easter around the corner, it is time to indulge in the cherished tradition of crafting Easter eggs. While store-bought eggs are gaining popularity, there’s something special about making your own homemade Easter eggs. Not only does it add a personal touch to your celebrations, but it also provides an opportunity for families and friends to get together and create cherished memories.
If this is the first time you’re creating Easter eggs, we’ve got you covered. Whether you want to go with the traditional practice of decorating hard-boiled eggs or make beautiful eggs from chocolate, here’s the step-by-step process you can follow-
1. Making Easter Eggs with Hard-Boiled Eggs
i. Preparing the Eggs
● Clean the Eggs
Start by washing the chicken eggs with warm, soapy water to remove any dirt or debris. Rinse them well and pat them dry with a clean towel.
● Hard-Boil the Eggs
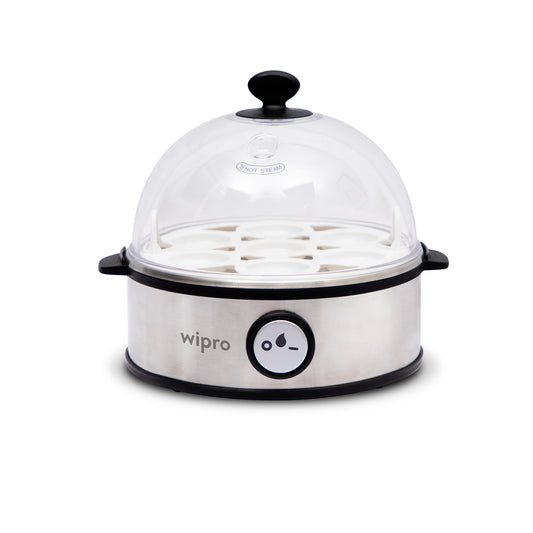
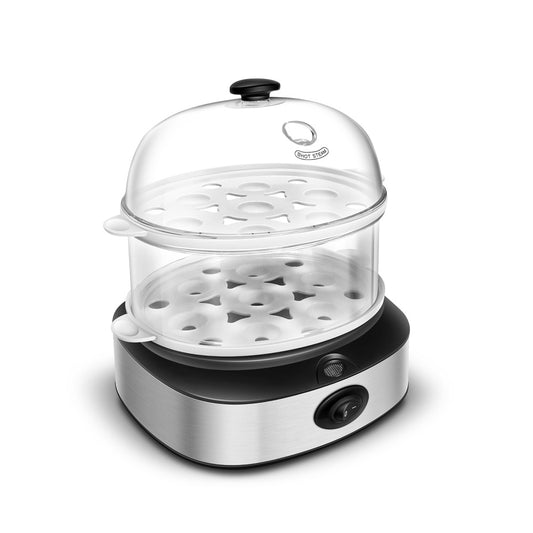
Take an Egg Boiler and boil the eggs. With Wipro’s egg boiler, you can effortlessly boil 7 eggs in a go. This is also a quick and hassle-free experience.
● Cool the Eggs
Once the eggs are cooked, remove them from the egg boiler and transfer them to a bowl of ice water to stop the cooking process. Let the eggs cool completely for at least 10-15 minutes.
ii. Dyeing and Decorating the Easter Eggs
● Preparing the Dye Baths
While the eggs are cooling, prepare your dye baths by filling bowls with ½ cup of boiling water, ½ teaspoon of vinegar, and 8-10 drops of food color. Make a few different bowls with different colors. Don’t forget to use vinegar as it helps make the dye brighter.
● Dyeing the Eggs
Once the eggs are cool, lower them into the dye baths using a spoon or tongs, making sure they are fully submerged. Leave the eggs in the dye for several minutes, depending on how vibrant you want the colors to be.
● Drying the Eggs
After dyeing, remove the eggs from the dyeing bowls and place them on paper towels or a drying rack to dry them completely. Avoid handling the eggs too much when the colors are still wet to prevent smudging.
● Decorating Easter Eggs
Once the eggs are dry, you can further decorate them with stickers, glitter, markers, and other embellishments to add your own personal touch. Even at the time of dyeing, you can experiment with various colors and patterns to give your Easter eggs a distinct look.
2. Making Chocolate Easter Eggs
i. Melting the Chocolate
● Preparing Chocolate Moulds
Start with cleaning the silicone chocolate half-molds with a kitchen towel to remove debris and smooth them out. Now, use a small piece of paper towel to polish the mold with a flavor- and odor-less cooking oil to ensure the chocolate pops out easily.
● Chop the Chocolate into Small Pieces
Most people use chocolate bars for creating chocolate Easter eggs. Use a knife to chop the chocolate bar into small pieces so that they can easily melt when you boil them.
● Heat the Chocolate
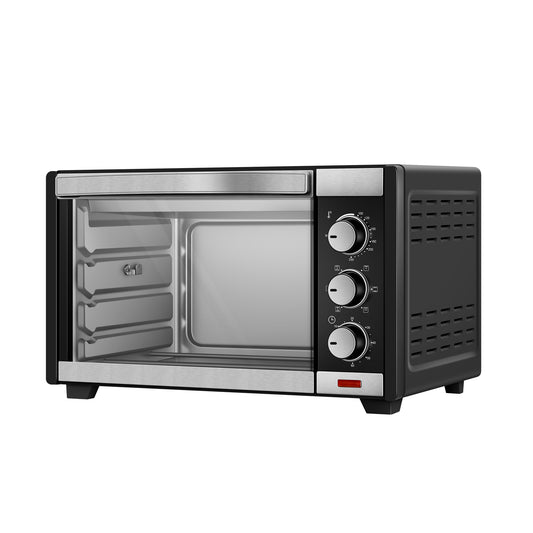
The traditional method is to use a double boiler wherein you put the chocolate pieces in a heat-safe bowl and place it over a pot of boiling water. However, most households now use OTG Ovens as they are quick, safe, and easy to use.
● Let the Chocolate Cool
Once the chocolate is completely melted, let it sit aside so that the temperature cools down to somewhere near room temperature. You can use a kitchen thermometer for the same.
ii. Moulding the Chocolate and Creating Easter Eggs
● Adding Chocolate to Moulds
You can put a spoonful of melted chocolate in each of the molds and move it around so that a layer of chocolate covers them entirely. If there’s any extra chocolate left in the mold after coating, pour it back into the chocolate bowl.
● Let the Chocolate Cool Down
You should now let the mold rest for 15-20 minutes to let the chocolate layer harden. Alternatively, you can also place the mold in your refrigerator for 5 minutes. Once the layer is hard, use a table knife to smoothen the edges of the mold.
● Add More Layers of Chocolate and Chill the Mould
Once the primary layer of chocolate is hard, follow the same process to create multiple layers of chocolate to finally create two halves of eggs. Once done, place the mold in the refrigerator for up to 60 minutes.
● Unmould and Join the Two Halves
Remove the mold from the refrigerator and unmould the egg halves gently to avoid breaking them. Slightly heat a knife on medium heat and run it over the edges of the unmoulded egg halves. Press two halves together to create eggs. Once the eggs are ready, you can decorate them the way you want.
Let’s Make Some Easter Eggs
Making homemade Easter eggs is a delightful way to embrace the spirit of the season and unleash your creativity. Whether you prefer the traditional dyeing method or chocolate eggs, there are countless ways to design and decorate them so that they reflect your unique style and imagination.
So, start gathering your materials and your loved ones to create Easter egg decorations and memories that will last a lifetime.


